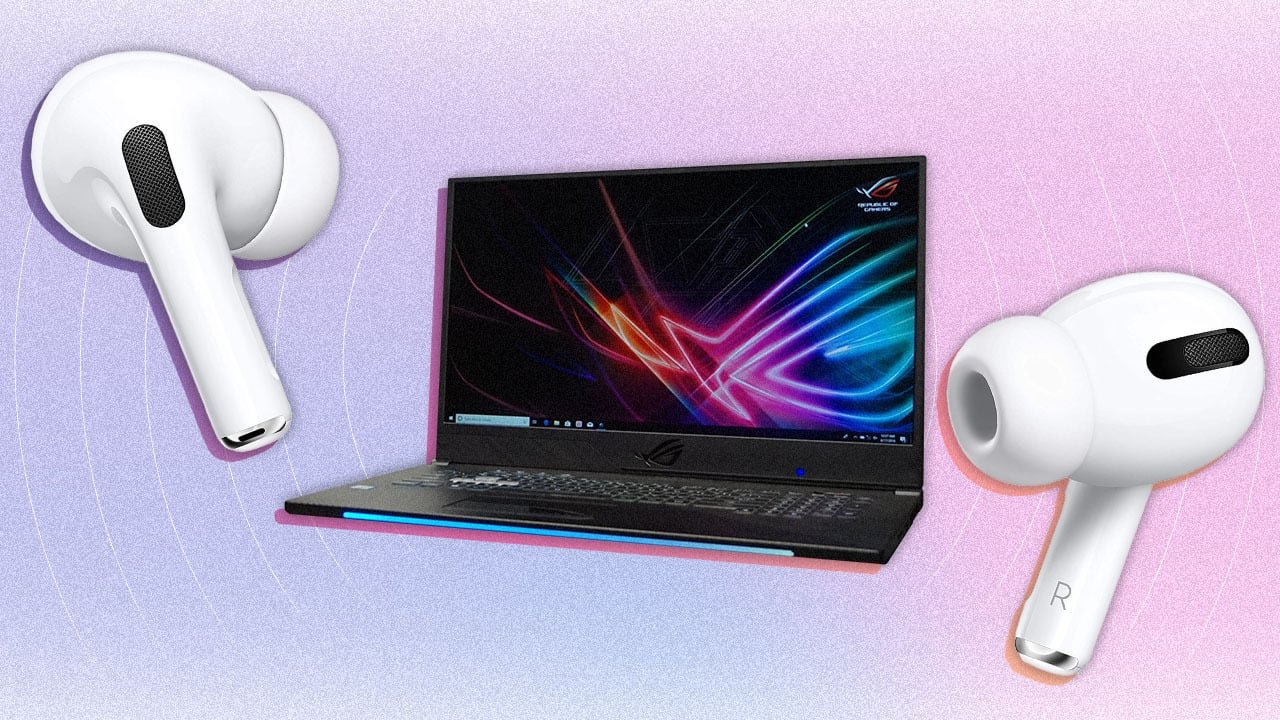
In an era where the convenience of wireless technology is highly valued, connecting devices like AirPods to laptops has become a common necessity for many. Whether you’re diving into your favorite music, attending virtual meetings, or simply enjoying a movie, ensuring a seamless connection between your AirPods and laptop can significantly enhance your audio experience. This comprehensive guide is designed to walk you through the process, ensuring that you can enjoy high-quality audio with the convenience your AirPods were designed to provide.
Understanding AirPods Compatibility
Before diving into the connection process, it’s crucial to understand the compatibility of your AirPods with various laptops. AirPods, designed by Apple, are primarily optimized for use with Apple devices. However, their Bluetooth functionality allows them to pair with a wide range of devices, including Windows and Linux laptops. The key is ensuring your laptop supports Bluetooth connectivity, which is standard in most modern laptops.
Preparing Your Laptop for Connection
Checking Bluetooth Capability
The first step in connecting your AirPods to your laptop is to ensure that your laptop’s Bluetooth is active and capable of discovering new devices. For Windows laptops, this can typically be done by going into the “Settings” menu, selecting “Devices,” and then “Bluetooth & other devices.” Ensure that Bluetooth is turned on. For Mac users, you’ll find this option in the “System Preferences” under “Bluetooth.”
Updating Your Laptop’s Bluetooth Drivers
Occasionally, connectivity issues can arise from outdated Bluetooth drivers, particularly on Windows laptops. To mitigate this, check for the latest updates for your Bluetooth drivers through the “Device Manager.” Right-click on the Bluetooth device and select “Update driver.” This can help ensure smoother connectivity and compatibility with your AirPods.
Connecting AirPods to a Windows Laptop
- Opening Bluetooth Settings: Begin by opening your laptop’s Bluetooth settings. This can be done by clicking on the Bluetooth icon in the system tray or by going into the “Settings” menu, then “Devices,” and finally “Bluetooth & other devices.”
- Putting AirPods in Pairing Mode: With your AirPods in their charging case, open the lid. Then, press and hold the setup button on the back of the case until the status light flashes white, indicating that your AirPods are in pairing mode.
- Adding the AirPods: Back in your laptop’s Bluetooth settings, click on “Add Bluetooth or other device,” then select “Bluetooth.” Your laptop will search for available devices. Select your AirPods from the list to initiate the pairing process.
- Finalizing the Connection: Once your AirPods appear in the list of devices and show as “Connected,” the pairing is complete. You may need to select your AirPods as the default playback device by right-clicking the sound icon in the system tray, selecting “Open Sound settings,” and choosing your AirPods under the “Output” section.
Connecting AirPods to a Mac Laptop
- Accessing Bluetooth Preferences: On your Mac, go to “System Preferences” and select “Bluetooth.” Ensure that Bluetooth is turned on.
- Engaging Pairing Mode: With your AirPods in their case and the lid open, press and hold the setup button on the back of the case until the status light flashes white.
- Selecting Your AirPods: Your AirPods should appear in the list of devices in the Bluetooth preferences pane. Click “Connect” next to your AirPods to establish the connection.
- Verifying the Connection: Once connected, your AirPods should appear as the selected output device for sound. You can verify this by clicking the volume icon in the menu bar or by going to “Sound” in System Preferences.
Troubleshooting Common Connection Issues
Even with the correct steps, you might encounter some issues when trying to connect your AirPods to your laptop. Here are a few troubleshooting tips:
- Ensure Your AirPods Are Charged: Low battery levels can prevent your AirPods from connecting properly. Make sure your AirPods and their case are sufficiently charged.
- Restart the Bluetooth on Your Laptop: Sometimes, simply turning your laptop’s Bluetooth off and then back on can resolve connectivity issues.
- Forget the Device and Reconnect: If you’ve connected your AirPods to your laptop before and are experiencing issues, try removing (“forgetting”) the AirPods from your Bluetooth settings and then reconnecting them as if for the first time.
- Check for Interference: Other wireless devices can sometimes interfere with Bluetooth connections. If possible, reduce the number of active Bluetooth devices in the area.
- Restart Your Laptop and AirPods: A simple restart of both your laptop and AirPods can sometimes resolve connectivity problems.
Conclusion
Connecting your AirPods to a laptop, whether it’s a Windows or Mac, is a straightforward process that opens up a world of audio possibilities. By following the steps outlined in this guide, you can ensure a seamless connection and enjoy the full range of features your AirPods offer. Remember, if you encounter any issues, simple troubleshooting steps like checking your Bluetooth settings, updating drivers, or restarting devices can often provide a quick fix. Embrace the convenience of wireless audio by connecting your AirPods to your laptop today.